| |
|
Installing the new drive |
 |
|
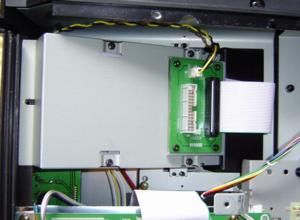
This is the new floppy drive assembly in place inside the SY99. Aligning the new drive so that it fits through the bezel was not as tricky as I had expected - more or less a matter of aligning the mounting holes for the three brass-coloured self-tapping screws. |
 |
|
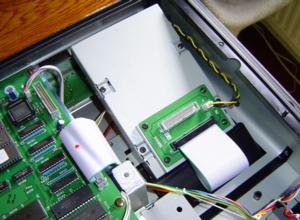
Here's a persepctive view of the new floppy in place. |
 |
|
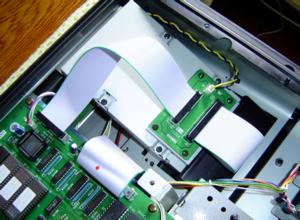
The final stage was to connect the final ribbon cable in place between the two highlighted sockets - which were both polarized, making it easy to figure out how the ribbon cable should be installed. |
 |
|
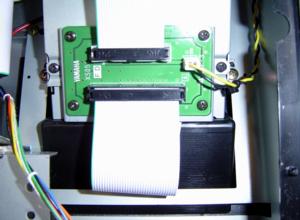
This close-up shows the way that the ribbon cables are different in the number of pins. It also shows the loop of ribbon cable which is actually just underneath the sloping area that leads to the disk drive. |
 |
|
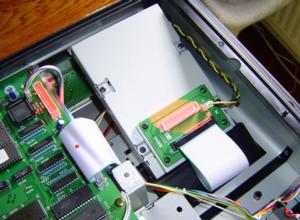
This photo shows the last ribbon in place. |
